How to use Nearpod as a student: 5 teaching strategies
Effectively teaching how to use Nearpod as a student will greatly enhance your teaching and students’ learning experience. While many of our students are technology whizzes, most students need to be taught how to use educational technology tools. Just like students need explicit instruction in the core content areas, students need to be clearly instructed on how to access the unique features that Nearpod has to offer. Using Nearpod is simple; it was designed with teachers and students in mind. However, to maximize the impact of a lesson, kids need to practice using Nearpod on their devices.
When teachers start using Nearpod, they are often thrilled with all of the features and the breadth of both content and activities. We all want to incorporate as much as possible to make our lessons dynamic, novel, and exciting while reaching every student. But, we can’t get ahead of ourselves and overcomplicate lessons for our learners. To ensure that our students are truly able to engage as independent learners, we need to provide step-by-step instructions on how to use Nearpod, just like we would for any other classroom assignment.
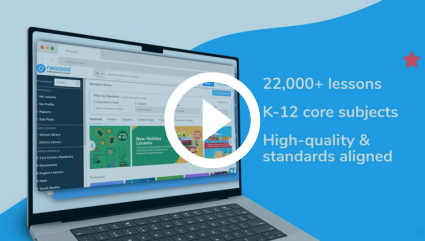
New to Nearpod? Teachers can sign up for a free Nearpod account below to access these standards-aligned activities and create interactive lessons. Administrators can schedule a call with an expert to unlock the full power of Nearpod for schools and districts.
How do students join a Nearpod lesson?
The most important step is teaching students how to first access the lesson.
To join a Nearpod lesson, students should follow these steps:
- Use the code or link: The teacher shares a unique code for the lesson.
- Go to Nearpod: Students open the Nearpod website or app.
- Enter the code: Students click “Join Lesson” and enter the code provided by the teacher.
How can I teach my students to use Nearpod?
1. Use Student View to explain procedures
The simplest way to teach how to use Nearpod as a student is with an oral explanation and a demonstration. For instance, when we want our students to add images to a Collaborate Board, we can explain the procedure while showing them through a Student View. Project Nearpod on your screen and have students follow along. Make sure to have an engaging question ready!
Here’s how to change to Student View from your Teacher View in just one click:
2. Teach students to use Immersive Reader independently
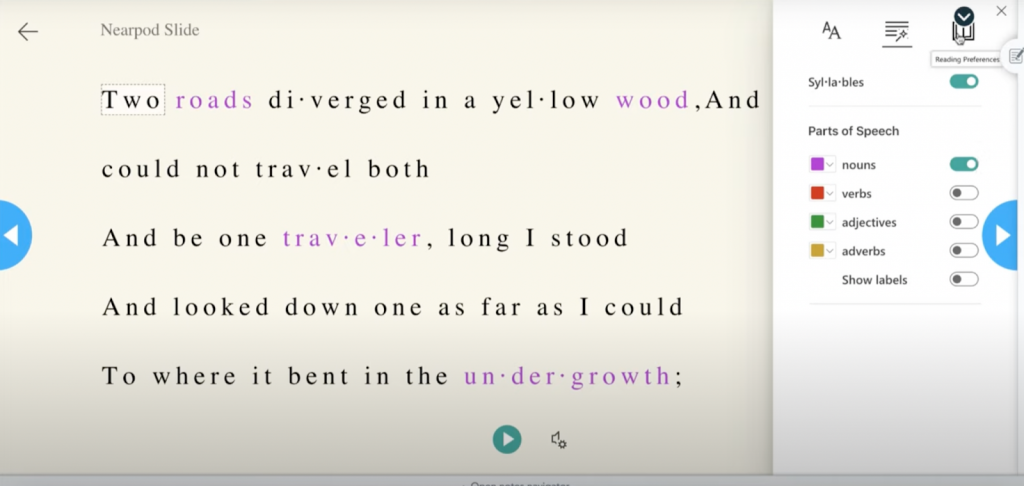
Immersive Reader is a fantastic accessibility feature that allows emerging readers to have text read to them and provides embedded translations, a picture dictionary for multilingual learners, and more. It’s important to clearly indicate to students which icon and tab they need to click to access this rich technology.
Students need plenty of time to practice their Nearpod skills. After direct instruction on how to use a Collaborate Board and Immersive Reader, students need multiple opportunities to engage with the activity independently. Co-teachers and paraprofessionals can become wonderful allies in this process.
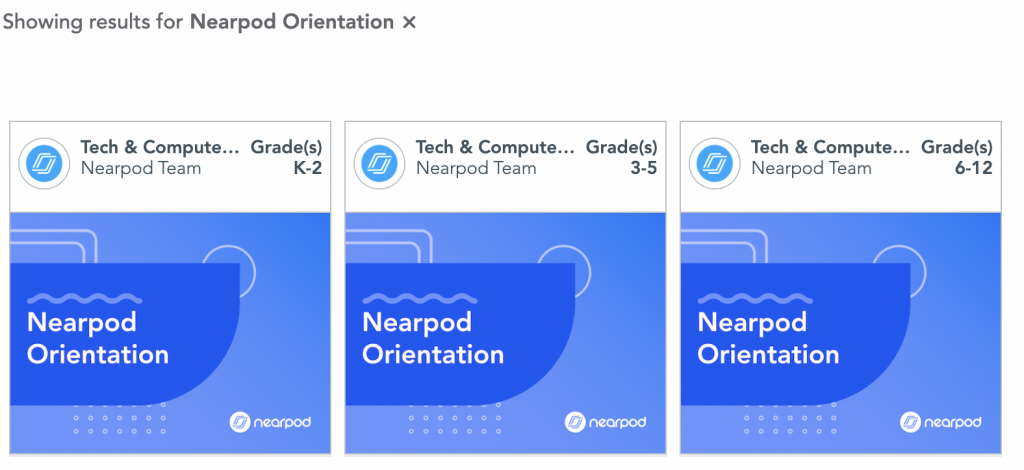
3. Use our pre-made Nearpod Orientation lessons
Creating Nearpod lessons about Nearpod might seem like a burden, but fortunately, the Nearpod team has done all the work for you. The Lesson Library has a variety of content designed to give both teachers and students help using Nearpod. These engaging lessons introduce staff and students to how to use Nearpod and all its features properly.
4. Use our video tutorials
Nearpod also offers video tutorials which are great for visual learners. Video tutorials are bite-sized video clips that show how to use Nearpod’s various features. They can be incorporated into your lessons or shared with students whenever necessary. You can also embed these videos as reference materials into an activity. Teachers can turn any video into a customized, interactive experience by uploading it to Nearpod and embedding questions that are relevant to the students right in front of them. You can find videos on Nearpod’s YouTube or Teacher Resources page.
Watch the tutorial below to see for yourself!
5. Making Nearpod a part of your class routine
Once students have been taught a new feature and have had time to practice, they’ll need plenty of repetition. Incorporating Nearpod into classroom routines is simple, easy, and rewarding.
Here are five easy ways to make Nearpod a habit:
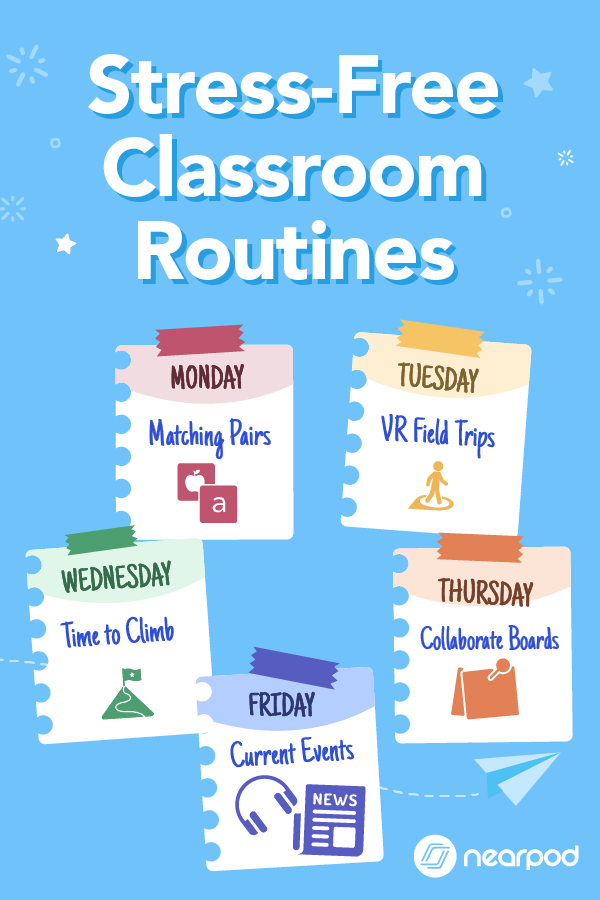
- Incorporate VR as a lesson hook. Have students explore another city, park, or underwater environment that grounds the lesson in the real world. Allow students time to explore and see something new, activating background knowledge and building schema.
- Use the Collaborate Board for your bell ringer. Ask an open-ended question and give students time to respond and react to their classmates. Start with a turn-and-talk to bring in face-to-face interaction!
- Make a Poll or Draw It exit ticket. Use Polls or Draw It to get a general sense of student understanding and see student thinking.
- Check-in on students. Explore social and emotional learning activities related to mindfulness and emotions. These are great activities for starting the day, right after lunch/recess, or when there’s an interruption in the daily routine (think fire drills!).
- Review units and lessons with educational games. Nearpod has an enormous library of pre-made, editable activities, but creating your own is fun and easy as well. Gamify Friday afternoon and Monday mornings with Time to Climb!
6. Student accounts
Student Accounts, available with a School and District license, is an optional feature you can enable for your school or district. Student accounts provide valuable benefits to teachers and students at your school or district. With Student Accounts, students can enjoy seamless access to lessons, change devices, take breaks, or finish lessons later without losing their progress or submissions. Also, students can create and deliver their own Nearpod presentations. Learn more about Student Accounts here.
Start using Nearpod with your students
We hope you’ll be using these resources with your students! Learning new tech tools takes time and practice, so Nearpod is here to support you and your students every step of the way.
New to Nearpod? Teachers can sign up for a free Nearpod account below to access these standards-aligned activities and create interactive lessons. Administrators can schedule a call with an expert to unlock the full power of Nearpod for schools and districts.

Erika is an education consultant and a language acquisition expert. Having spent years abroad and around the US working with learners from all over the world, she is passionate about intercultural communication, multilingualism and instructional excellence.


