How to use Nearpod: 6 Tips for beginners
If you’re looking for tips on how to use Nearpod, you’ve come to the right place. There are so many ways you can get started to meet your classroom needs. Whether you are a Nearpod beginner or a Nearpod pro, we can all agree on a couple of things. First, teaching is not easy. So much time goes into planning your days and preparing for your lessons. Creating strong engaging lessons takes a lot of time. This brings us to our second agreement; there isn’t ever enough time. One thing that can help with saving time is using the right tech tool.
Every educator needs to have a tech toolbox – a place where they can go to find the right tech tool for the job. However, one common issue is that sometimes we have too many tools to choose from, which can be frustrating! Fortunately, one multi-tool is a single solution for all your tech tool needs, saving you time and making your job a little bit easier. You guessed it, Nearpod! Below are six tips on how to use Nearpod to engage all of your learners.
How to use Nearpod: Tips for beginners
1. Take advantage of the Lesson Library
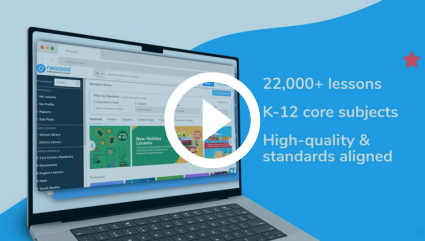
You don’t have to create lessons on your own! The Nearpod Lesson Library includes 8,000+ standards-aligned lessons,10,000+ videos, and 3,000+ games and activities. that are searchable and ready to be taught the moment you download them. You can find a lesson FAST by filtering your search. Once you add a lesson to your lesson library, you can edit it to fit your students’ needs or use it as is. You can use the premade lessons as a starting point and then add your own custom activities, content, and differentiation. Trustworthy subject experts and past educators create every lesson in the Nearpod Lesson Library and partner with other education companies such as PhET, Lifeliqe, iCivics, Common Sense, Crash Course, PBS Kids, Education.com, and Readworks. Practicing with these lessons is the perfect way to learn how to use Nearpod. Also, all lessons, videos, and activities are FREE with a Nearpod account!
2. Create mini-lessons using single activities
Creating learning opportunities with short, targeted activities has never been easier. A Nearpod lesson does not have to be 10-30 slides long to be effective. Creating mini-lessons using even a single activity can be extremely powerful. Here are a few ideas for how to use Nearpod’s activities:
- Time to Climb is Nearpod’s multiple-choice quiz game that can be played in Live or Student-Paced mode. It will have your students excited and begging to take a quiz.
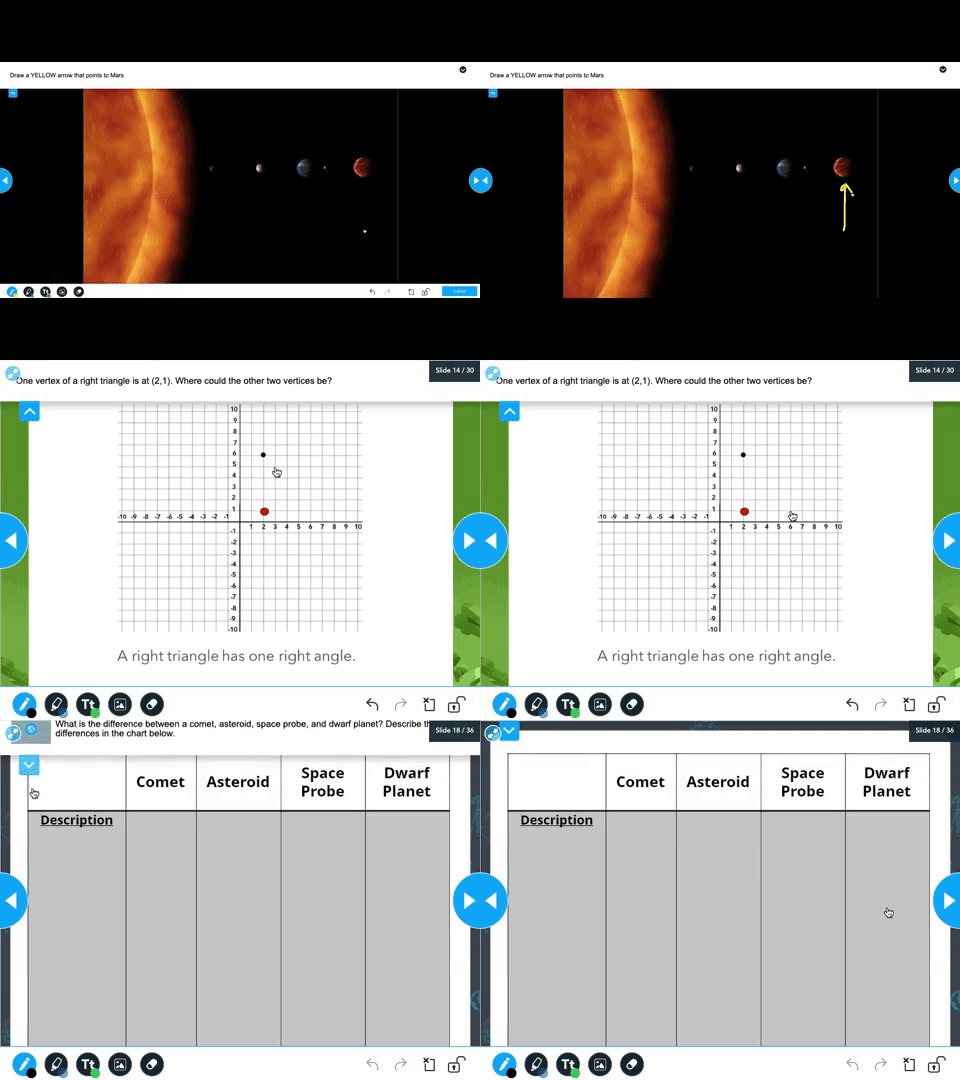
- A Draw It activity will allow students to respond to a prompt with drawings, text, and images. You can also see their responses in real time and display them. You can upload any background or have students draw on a blank background.
- Another option is to create an Interactive Video. With Nearpod’s video tool, you can take video instruction from passive to active learning by embedding formative assessments inside the video. Add multiple-choice or open-ended questions to any video that you add from YouTube or use one from the Nearpod library.
- Consider using a Virtual Reality (VR) Field Trip to bring the world to your classroom! Students can explore a 360-degree image of a location on their own devices. There are over 300,000 locations to choose from. These are great to use as writing prompts. Immerse your students in a location they can explore and be inspired by.
3. Watch learning in real time!
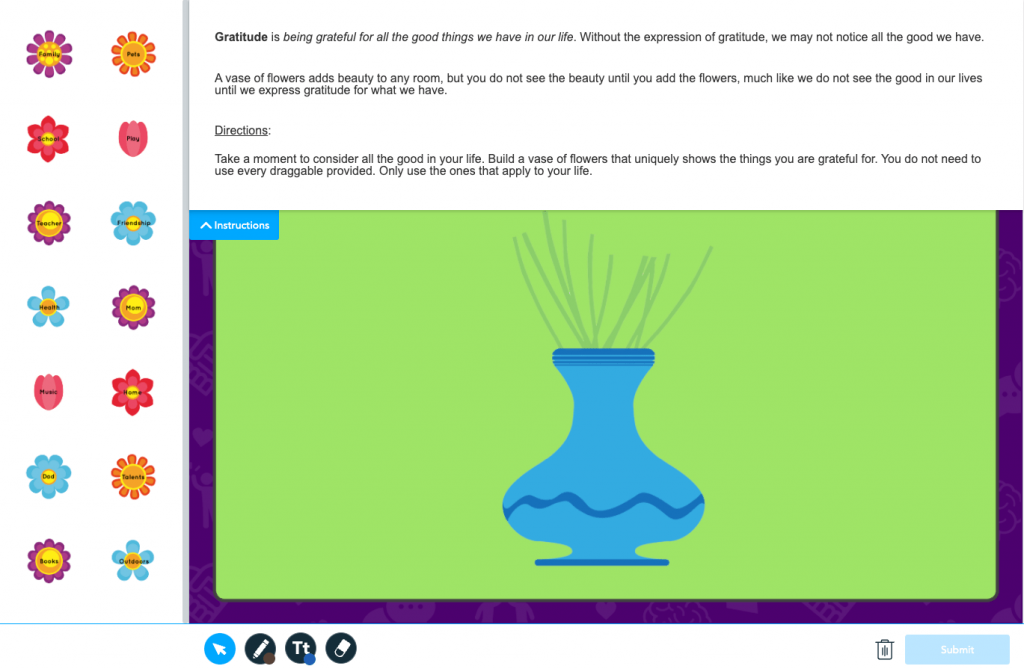
One fantastic advantage of using Nearpod is observing learning in real time. When your students are completing a Draw It or Drag & Drop activity, you will have an inside look into their understanding at that moment. Drag & Drop allows students to sort or order images and text sequentially or in thematic groups. You can easily create your own Drag & Drop activity yourself. However, hundreds of premade activities are available in the Nearpod Library for you to use, saving you time!
Another activity that can be used for a quick check-in is the Poll. This activity allows you to ask multiple-choice questions to check for understanding, take a class vote, and highlight student opinions. You can see the results (individual student answers and cumulative) live in the Teacher Dashboard.
4. Spark conversations by hearing from all students
As educators, we need to reach every student in our classrooms. However, we don’t always ‘hear’ from many of our students for varying reasons. In a class discussion, we may hear from 30-60% of our students due to time constraints, or many students do not feel comfortable participating. Typically we will see the same hands raised to answer questions or to speak during a discussion. So many of our student’s voices are not heard, and we need to bring ALL voices to the table. Even the quiet ones! Here are a couple of powerful activities that all Nearpod beginners should know about to make that happen:
- Open-Ended Questions are an amazing tool to use by themselves to begin a classroom discussion. This activity can be added to a Nearpod lesson or used as a stand-alone activity. Also, you can quickly access it on the fly by using the Quick Launch found on the upper right-hand side of your Nearpod homepage. When students respond to an Open-Ended Question, you will be able to see all student responses in the teacher dashboard. From there, you can share out any student answer to all devices anonymously. This is a great way to bring the quiet voices to the forefront, allowing all students to be heard!
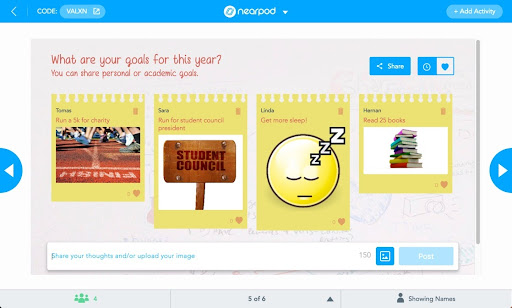
- Collaborate Board for the win! The Collaborate Board is an interactive discussion board that allows students to post text and images to a shared class board. All student responses can be seen by all other students anonymously. A Collaborate Board can also be launched using the Quick Launch tool as an independent activity. You can easily create your own Collaborate Board to share with students, or you can use our premade activities.
5. Use what you have!
For Nearpod beginners, it is important to remember that you can still use the resources that you may have created in the past. Do you have Powerpoint presentations or Google Slide presentations that you use for instruction? Good news! You can still use them and improve them by bringing in Nearpod’s engaging activities and dynamic media. You can recycle handouts by bringing them into a Draw It or Drag & Drop activity as backgrounds.
6. It’s easy to teach students how to use Nearpod
Using technology comes naturally to students, as they use it just about every day. One of the best ways to teach students how to use Nearpod is to incorporate it into your daily class routine. Have students that need Nearpod beginners tutorials?
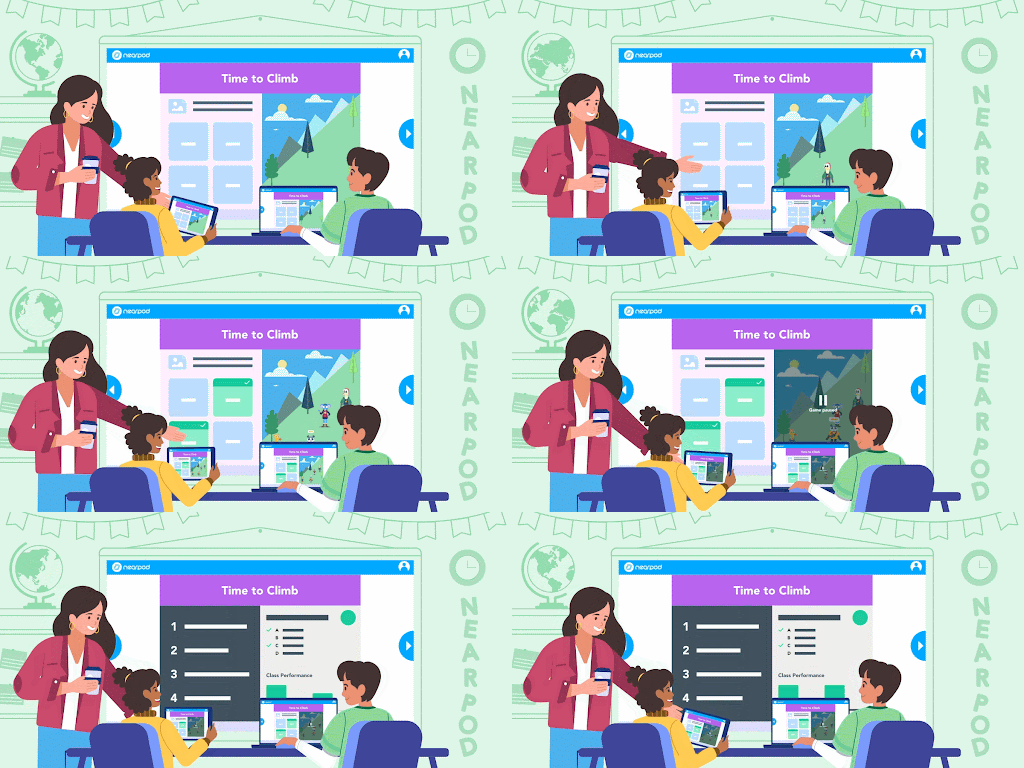
Some Nearpod Orientation lessons can help walk them through ‘how’ to use the different Nearpod activities and give them the space to practice in a low-stakes environment. A few ideas are to review units with Time to Climb, make a Draw It exit poll, or use our social-emotional learning (SEL) mini-lessons. Explore more ways to teach your students how to use Nearpod.
Nearpod’s Teacher Resources
If you’re looking to dig even deeper into Nearpod, head over to our Teacher Resources. This is your one-stop-shop for all things Nearpod tutorials. Here you’ll be able to explore a multitude of resources you can use independently to get started with Nearpod. Check out our webinar schedule and register for a session or two that you’re interested in. For you, we recommend the “Nearpod for Beginners” and the “Plan, Create and Edit a Nearpod Lesson” sessions. Can’t attend a live session? No worries! We’ll send you a recording of the webinar session so you can watch it on your own time. If on-demand videos are your preference, browse our quick “how to” tutorials. These bite-sized Nearpod beginners tutorials will help you learn Nearpod in minutes.
We’re so excited to see you put these tips to use! With Nearpod in your toolbox, you will save time and alleviate the stress that comes with planning. More importantly, you will engage your students to like never before and have confidence that 100% of your students have the opportunity to participate.
Interested in reading more about this topic? Check out this blog post: 10 ways to use Nearpod in the classroom

Jason Clark is a District Strategy Consultant on the Nearpod Professional Services team, leading high-quality implementation and professional development for Nearpod district partners in Texas. Jason spent 18 years in the classroom as an elementary teacher, where he discovered the power and magic of Nearpod in reaching and engaging every student in his classroom. After the classroom, he transitioned into different district roles as a School-Based Technology Specialist and District Innovation Specialist where he coached and trained teachers on the effective implementation of EdTech tools into their instruction. Jason is passionate about educational technology and the impact it can have on teaching and learning.

