10 Classroom-tested Nearpod tips every teacher needs
Classroom technology often comes with just enough professional development to get you started. The real learning, however, happens when tools are put to the test in the dynamic environment of a classroom. Nearpod is a great example of this. Veteran teachers who use it daily have discovered tips and tricks that make its impact even more profound. I’ve curated the top 10 of these tips from educators around the country. Each one has been proven to help save time, launch a class with ease, engage students, and open up new opportunities. Settle in for a journey that will have a direct impact on your classroom tomorrow!
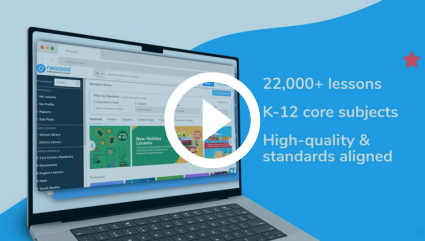
New to Nearpod? Teachers can sign up for free below to access and create interactive lessons. Administrators can schedule a call with an expert to unlock the full power of Nearpod for schools and districts!
10 Classroom-tested Nearpod tips every teacher needs
Tip #1: Make the first slide an activity
Instead of beginning your lesson with a standard title slide, jump right into the action. Using the first slide of your Nearpod lesson for an interactive activity can capture your students’ attention from the moment class begins. This turns the start of your lesson into an engaging bell ringer or entrance ticket.
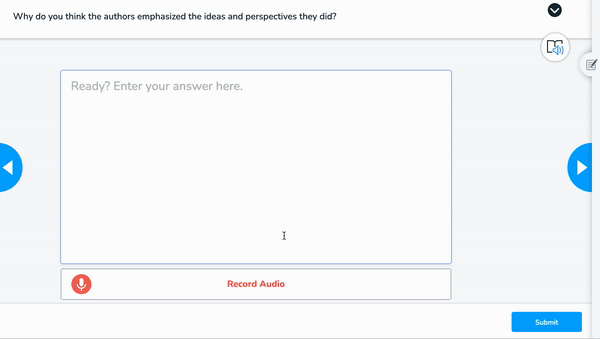
Consider using a Poll to gauge prior knowledge, a Draw It for a quick sketch, or an Open-Ended Question to get students thinking about the day’s topic. This simple shift sets a participatory tone for the entire lesson and provides you with immediate feedback on where your students are.
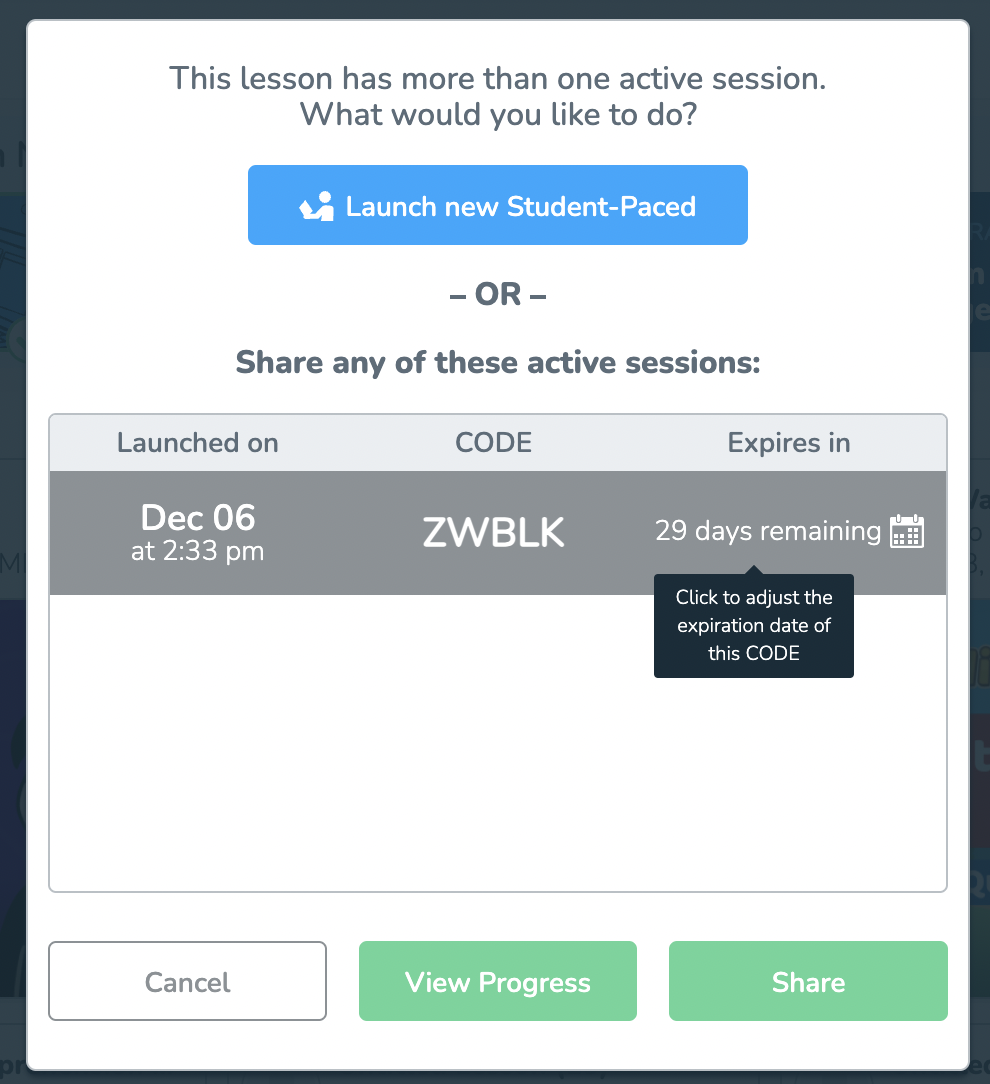
Tip #2: Use student-paced mode anytime
Flexibility is key in the modern classroom. Nearpod’s ability to switch between live, teacher-led instruction and student-paced mode at any time is a powerful feature for differentiation. During a live lesson, you can release control to your students, allowing them to work through a set number of slides at their own speed before bringing the group back together.
This feature is ideal for independent learning, enrichment tasks, or providing extra support. You can seamlessly move from whole-group instruction to individualized practice and back again, ensuring every student gets the support they need when they need it.
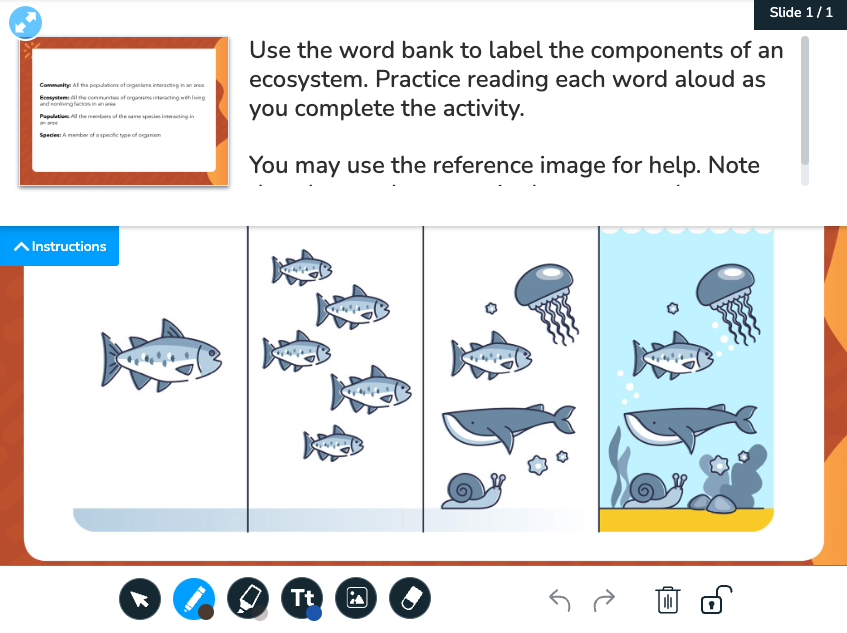
Tip #3: Add accessibility or bonus material
You can enrich nearly any Nearpod activity by embedding reference media. This allows you to add another layer of accessibility or provide bonus material for students who are ready for a challenge. This reference material can be a video, an audio clip, or an image.
This feature is available for a wide range of activities, including Quizzes, Open-Ended Questions, Draw Its, and Polls. For example, you could add an audio recording of directions for an Open-Ended Question or include a helpful diagram as reference media for a Draw It activity.
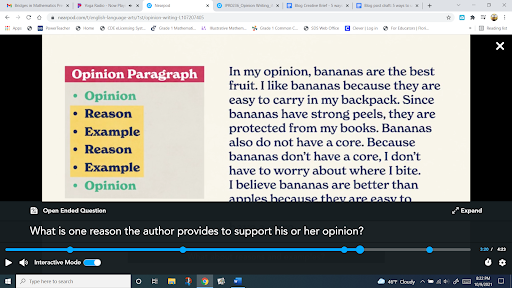
Tip #4: Make videos interactive
Transform passive video viewing into an active learning experience. With Nearpod, you can embed multiple-choice and open-ended questions directly into any video. Creating interactive video assessments ensures students are engaged and understand the material as they watch.
You can upload your own videos or select one from Nearpod’s extensive library. The platform also allows you to trim videos to show only the most relevant segments. Whether you run the video live, in front of the class, or as part of a student-paced lesson, these embedded questions provide valuable, real-time checks for understanding.
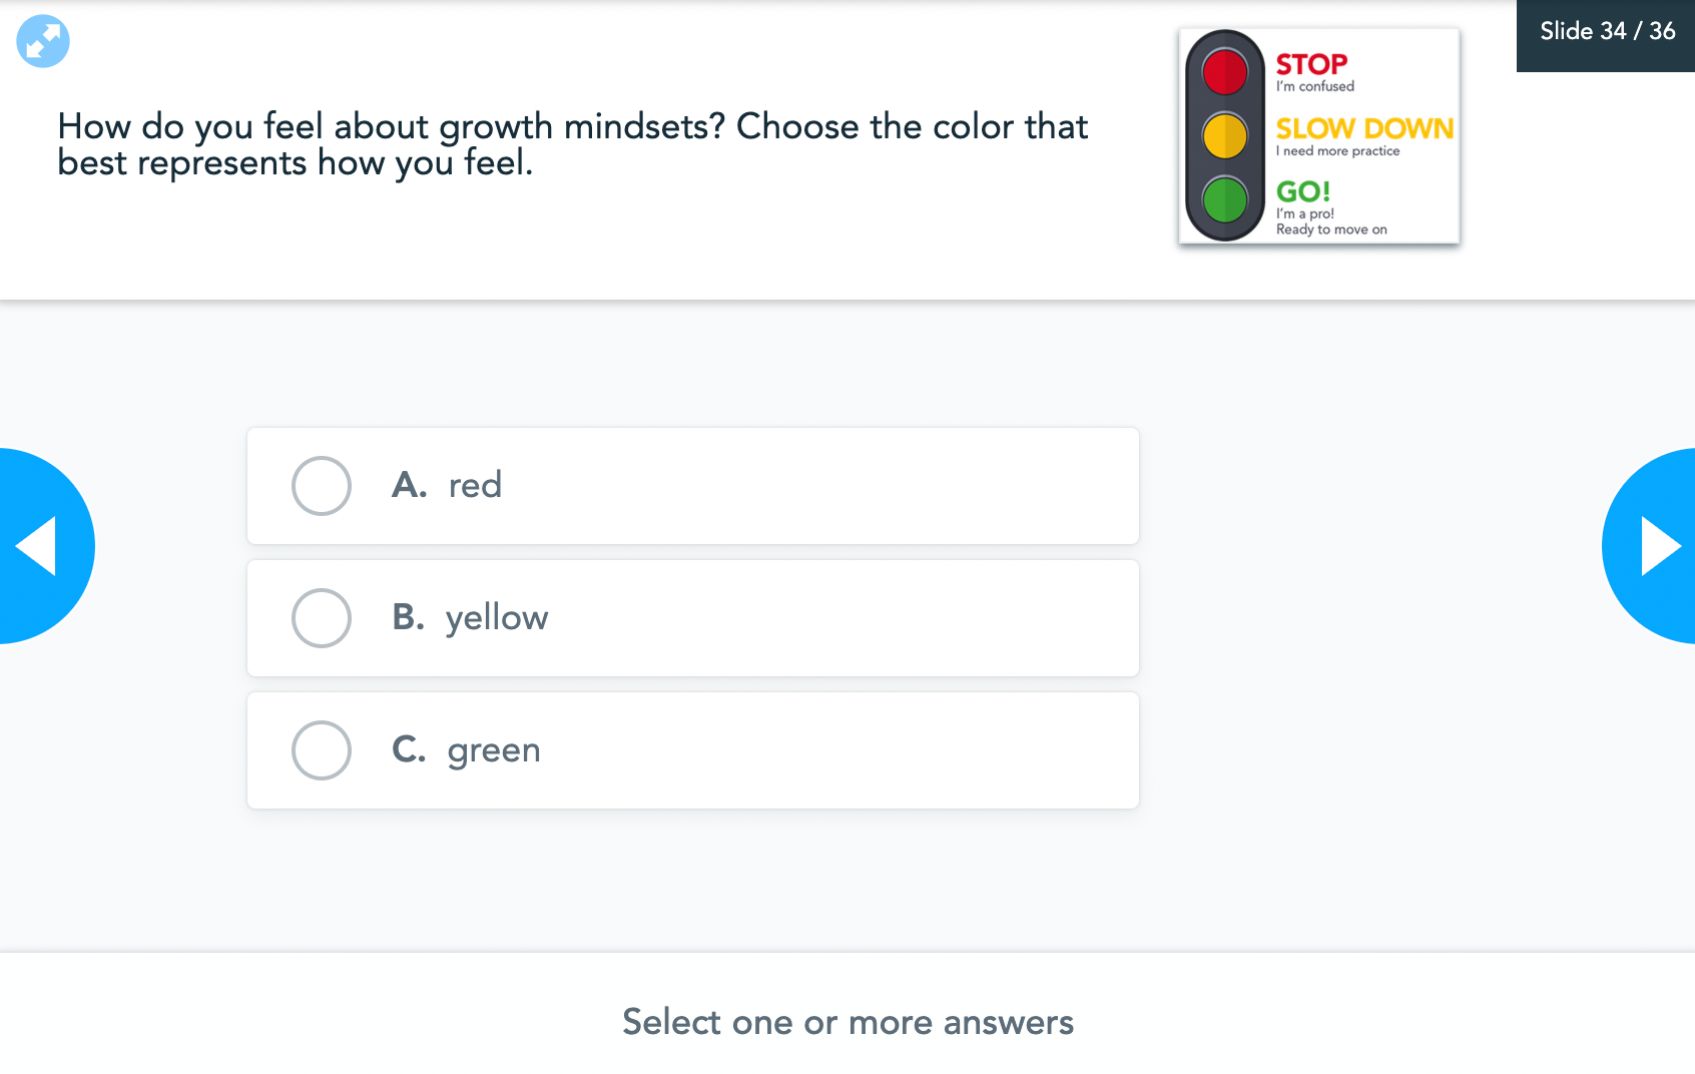
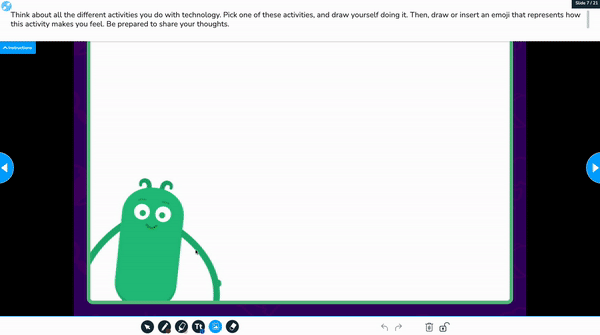
Tip #5: Explore Draw It possibilities
The Draw It feature is one of Nearpod’s most versatile tools. It goes far beyond simple drawing. You can use it for annotating diagrams, labeling maps, completing graphic organizers, or plotting points on a coordinate plane. Students can also work through mazes or complete matching activities.
To take it to the next level, have students take a screenshot of another application or website, upload it to a Draw It slide, and annotate it. The possibilities are vast, enabling students to demonstrate their understanding in creative and visual ways.
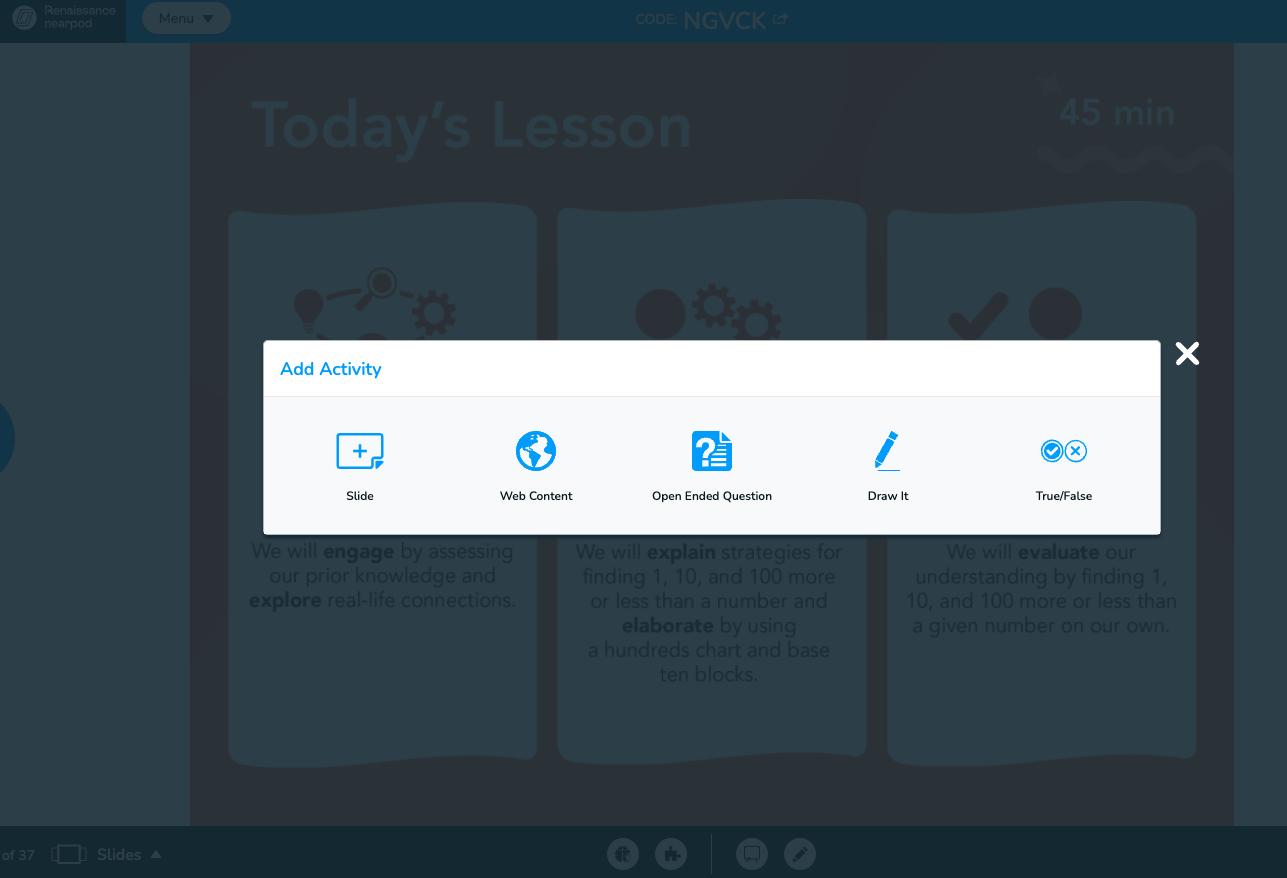
Tip #6: Add content on the fly
Have you ever been in the middle of a lesson and realized that you needed a quick comprehension check or that your students needed a brain break? Nearpod allows you to add activities on the fly. While in a live session, simply use the “Add Activity” button to insert a new slide.
You can add a web link, an Open-Ended Question, a Draw It activity, or a Poll without disrupting the flow of your lesson. For times when you don’t have a full lesson prepared, the “Quick Launch” feature lets you start an activity, such as a Collaborate Board or a timer, instantly from your Nearpod dashboard.
Tip #7: Add and allow audio
Audio can significantly enhance accessibility and clarify instructions. You can add audio recordings to your slides to provide directions, offer further explanation, or even read text aloud for your students. This is a game-changer for English learners, students with reading difficulties, and younger learners.
Furthermore, you can enable student audio responses for certain activities. This allows students to record themselves explaining their thinking or reading a passage aloud. It’s a fantastic tool for verbal assessments and for hearing from every student in the room.
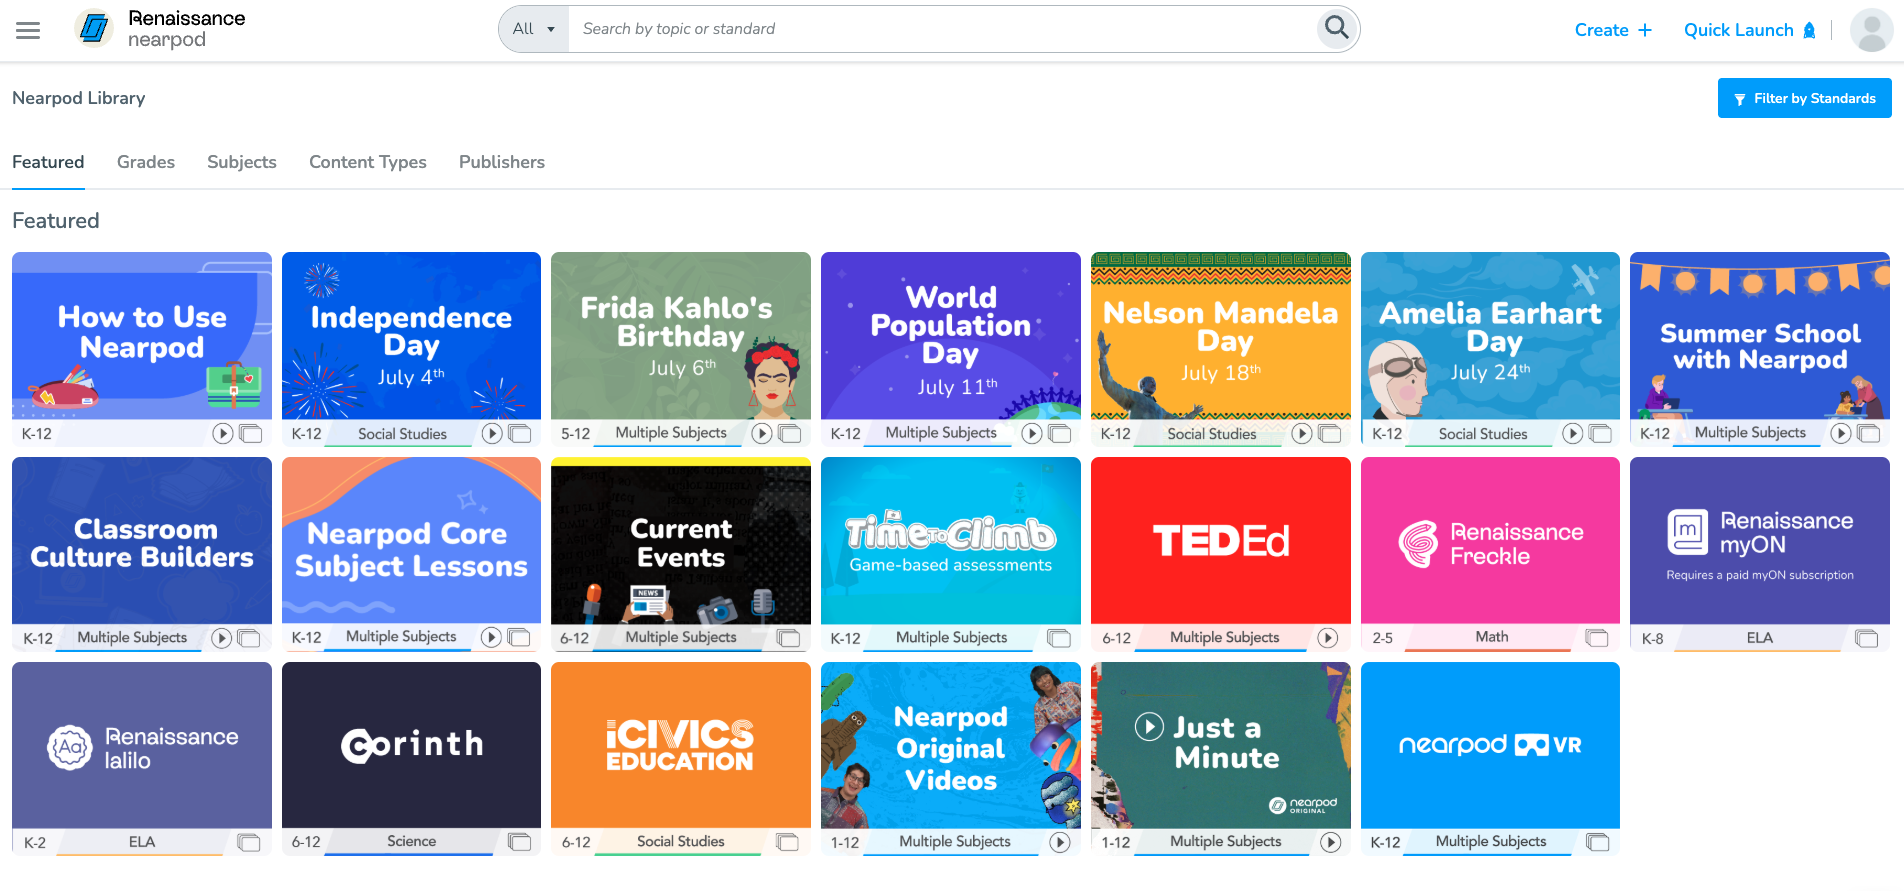
Tip #8: Filter searches for content
The Nearpod library is filled with thousands of ready-to-teach lessons, videos, and activities. To find what you need quickly, take advantage of the powerful search filters. After you perform a keyword search, you can narrow the results by subject, grade level, content type, and even specific educational partners. Using these filters helps you pinpoint the most relevant resources for your lesson in a fraction of the time.
Tip #9: Use the Google Slides Add-On
If you love creating in Google Slides, you don’t have to give it up to use Nearpod. The Nearpod Google Slides add-on combines the best of both platforms. You can build your presentation in Google Slides and then use the add-on to insert Nearpod’s interactive features, such as Quizzes, Polls, and Draw It activities.
When you’re finished, simply click “Save and go to Nearpod” to make your lesson ready to launch. If you’re collaborating with other teachers on a presentation, just make sure each person saves their edits to sync everything to Nearpod.
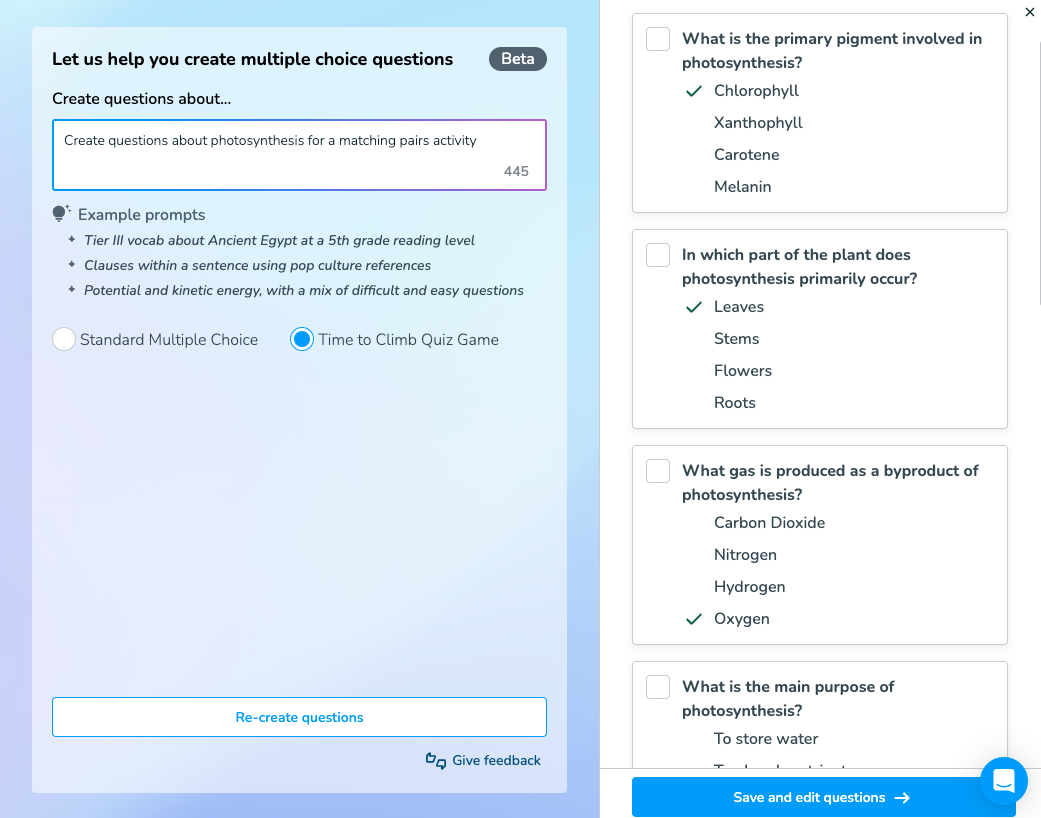
Tip #10: Leverage artificial intelligence
When you’re short on time or looking for inspiration, Nearpod’s AI Create tool can be a lifesaver. This feature helps you quickly generate standards-aligned lesson materials. All you need to do is enter a topic or learning objective, select the appropriate grade level and standards, and watch as Nearpod builds a customized lesson for you. You can then edit and refine the lesson to perfectly fit your students’ needs, saving you valuable prep time.

Start using Nearpod today
Welcome back from your journey through tried-and-true Nearpod tips directly from teachers in the classroom. It’s important not to try every tip right away, as it could be overwhelming. Take a closer look through the list and choose one or two that you know could help you and your students right away. Maybe it’s using the AI features to jumpstart lesson creation and enabling audio responses to help your EL students. Or, perhaps it’s a new use of a Draw It activity you hadn’t thought of before, alongside recorded audio directions. Your classroom is unique, and it will be up to you to apply the tips that you know can take Nearpod to the next level.
New to Nearpod? Teachers can sign up for free below to access and create interactive lessons. Administrators can schedule a call with an expert to unlock the full power of Nearpod for schools and districts!

Patrick Hausammann is a coach and leader, for over a decade, in the ever changing world of edtech. Fueled by a growth mindset and comfort in failing forward, he’s never satisfied with the status quo nor the cessation of learning. Accomplishments include recognition as an ASCD Emerging Leader and certifications as a Google Innovator & Certified Educational Technology Leader (CETL). Further certifications include Google Trainer, Coach, & Educator in addition to Magic School AI, School AI, Diffit, Brisk, Nearpod, Wakelet, WeVideo, Clever, Pear Assessment, Common Sense Education, and more!