How to create your own Virtual Reality (VR) in the classroom
How can I use Virtual Reality (VR) in the classroom?
Virtual Reality (VR) in the classroom is more than amazing technology; it is a way to engage students with visual and hands-on instruction in a meaningful way. Teachers can use virtual reality in the classroom to enhance learning by providing immersive and interactive experiences for students in a wide range of educational content and subjects. Imagine visiting famous landmarks around the world that you are studying in Social Studies or visualizing the setting of a story you are reading in Language Arts class. It has truly redefined learning in the classroom!
Nearpod has a full collection of standards-aligned virtual reality (VR) lessons already created. The VR feature allows you to choose from over 300,000 virtual reality experiences. Teachers can create a lesson with information slides, embed interactive assessment activities, and include VR experiences, all in one place. Students can then access the lesson from their own devices while teachers view their progress and responses in real-time from their own devices.
However, there may be times when you want to take your students on a trip to the community playground, local high school, or the neighborhood grocery store. By creating a 360 image of your choice from your phone, embedding it into Nearpod, and mixing it in with formative assessment activities and content slides, you’ll have an engaging and effective instructional lesson for students.
To access Nearpod’s virtual reality experience and more, sign up for a free Nearpod account!
How to create your own Virtual Reality (VR) in the classroom
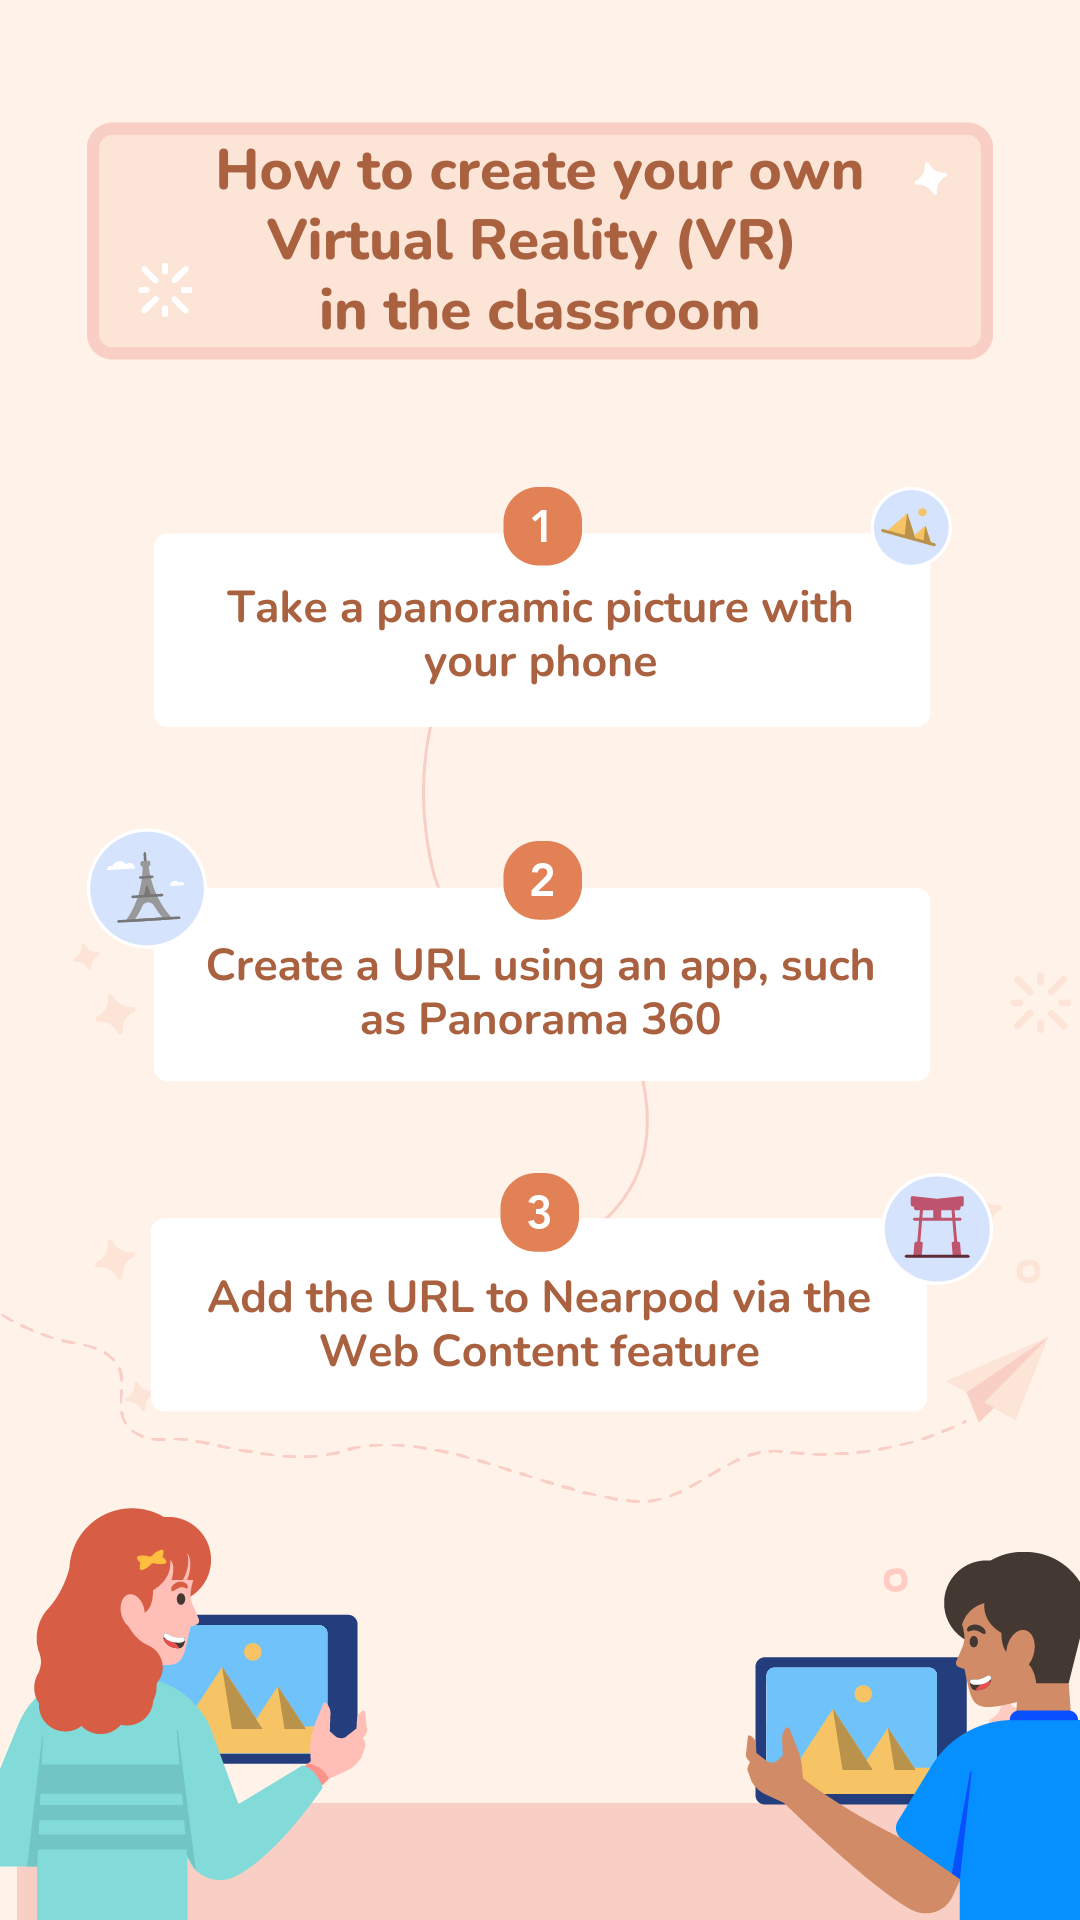
Teachers often ask, “Can I create my own Virtual Reality experiences for my students?” Of course, you can! It’s actually not as hard as it sounds and only takes a few minutes to create. All you have to do is follow the 5 simple steps below.
Step 1: Download Panorama 360
There are many fancy ways to create a VR with high-tech panoramic gear. However, using a smartphone and downloading an app like Panorama 360 is the easiest. To get started, download the Panorama 360 from the app store (It’s free!). Launch the app on your phone and familiarize yourself with the interface and settings.
Step 2: Use your camera to create a 360 image
Now that you’ve familiarized yourself with the app, it’s time to create your VR experience! Consider using a tripod or a stable surface to minimize camera shake. Next, follow the instructions below:
- 1. Click on the camera icon at the bottom and middle section of the screen.
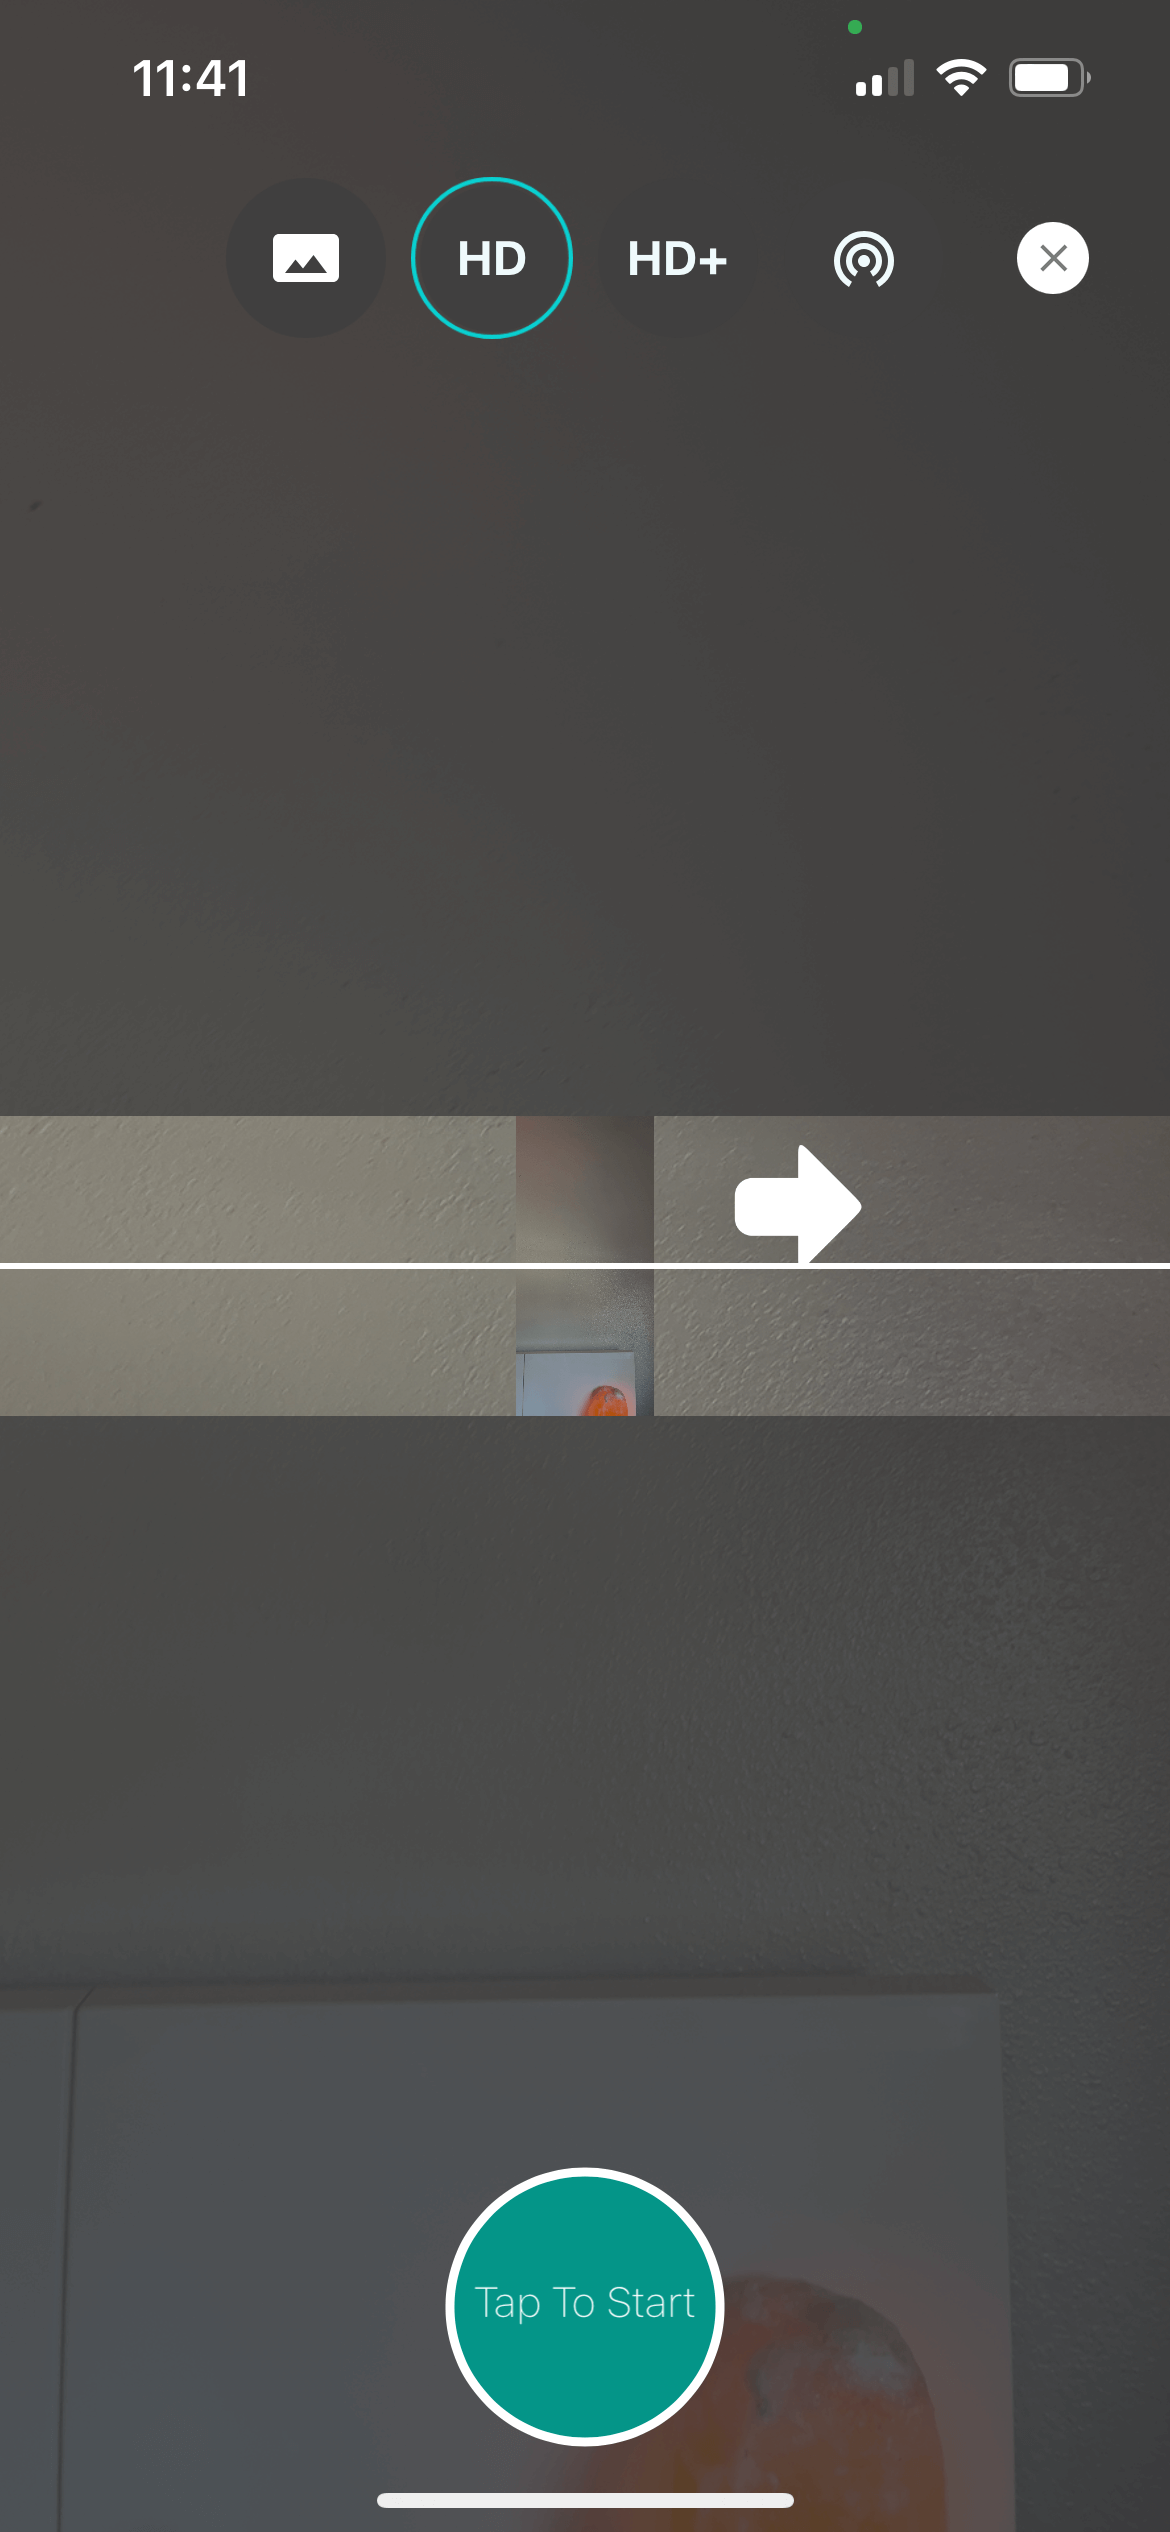
- 2. Select the “HD” option from the top.
- 3. Hold your phone vertically and align the two arrows by moving your phone upward.
- 4. Find a stationary spot or use a tripod. Click on “Tap to Start” and start capturing photo snapshots in 360 motion.
- 5. Rotate your phone slowly in a full circle, allowing the app to stitch together the images or footage.
- 6. Maintain your phone’s camera lens at the same level as the arrow you saw at the beginning.
- 7. Capture multiple shots if needed.

Step 3: Publish the 360 image on the app and grab the URL
In order to obtain the 360 VR degree, the image needs to be published on the app so you can get the URL. Click on the green arrow icon on the bottom right, select “360 Photo”, and then click Next. This will publish your image.
Click on the share button, which is an icon on the far right of an arrow pointing upward. Copy the link and send it yourself. This is the link you will share using Web Content in Nearpod.
Step 4: Add the URL to your Nearpod lesson
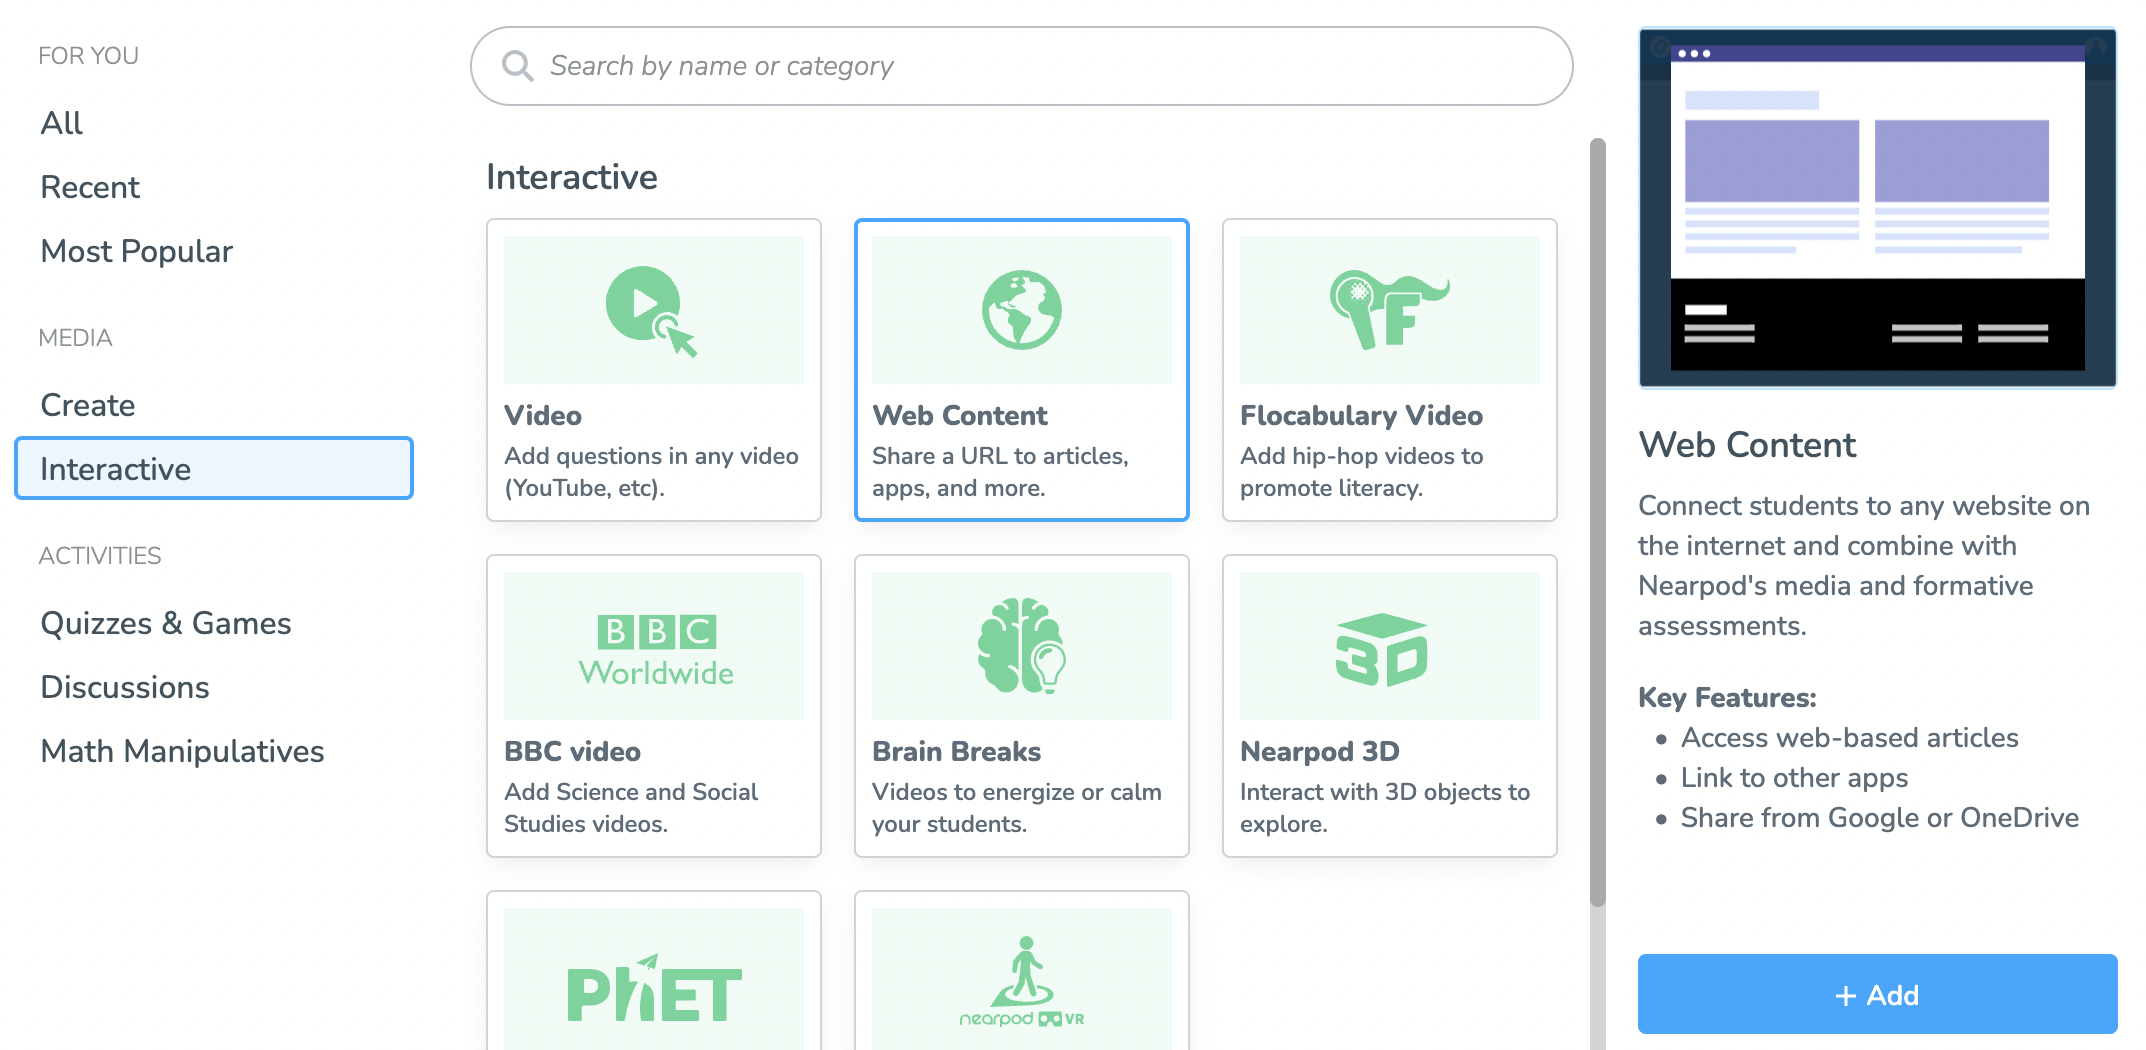
Go to Nearpod and create or edit your lesson! Click on “Add Content & Activities” and click on “Web Content.” Add the URL from the 360 images, and you’re done!
You can always unshare the 360 images on the app once it’s no longer needed.
Step 5: Use the Nearpod lesson during instruction
Once you’ve added in the Web Content, continue to explore the other media options and activities Nearpod has to offer. Create a full lesson by adding content slides and formative assessment activities. Share this lesson with your students, and they’ll be able to access the lesson from their devices, including the VR experience!
Searching for inspiration or a sample lesson? Explore Nearpod’s Virtual Reality (VR) Field Trips!
Create engaging instructional experiences with Nearpod
The possibilities are endless with bringing VR experiences to the classroom; now you have the Nearpod skills to do so!
To access Nearpod’s virtual reality experience and more, sign up for a free Nearpod account!


